


Fabric: quilting cotton from Premier Prints in Zig-Zag Girly Blue
Instructions: Check 'em out below. Also see Apartment Therapy and various blogs
Cost: $40.68 for 6 yards

I live in a studio. A very small studio. 220 square feet to be exact. This includes a sitting area, a sewing area, a bathroom, a kitchen, and my bed. There is one closet.

Living in 220 square feet has been a challenge, but it has also been an enjoyable experience. I have always envied the people who simplify their lives until they only have the absolute essentials, no longer bogged down by worldly possessions. But I am not one of those people. I like my stuff. I like my globe, my bookcases, my sundresses in San Francisco weather. I own at least six throw pillows and I don't even have a full living room. So my 220 square feet (a little over 20' x 10') have been an exercise in simplification, organization and balance. I go through my apartment about every two months to weed out things I no longer use, and occassionally switch up the furniture a bit. In return, I have a place that feels efficient and is incredibly quick to clean. It's not great for entertaining, but I think I love it.


Besides keeping things clean and organized, I have a few tricks for squeezing a lot of stuff into a little space.
- To separate the space up a bit, the entryway is sectioned off with two bookcases, which create a storage space and keep the bed hidden from view.

- To open up the space, there are three mirror boxes on the wall above the couch, and the closet door in the hall to the bathroom is also mirrored.
- I tie eveything together with a white color scheme and red, blue and yellow accents.

- And my newest addition is my wallpapered sleeping area. In the nook for my bed, I added zig-zag "wallpaper," which is acutally fabric plastered to the wall with cornstarch. I love it because it sections off the room and the pattern adds some depth. See below for a how-to.
(You can create a floorplan in 2D and 3D online at HomeStyler.com.)
I used the wallpaper technique in my last apartment, and wanted to bring it back on a bigger scale for this project. Basically, the technique involves starching fabric to the wall in place of wallpaper or other decorations. When you are tired of the look (or if you live in an apartment and move out) you simply pull the fabric off the wall and sponge off the starch. You can even throw the fabric in the wash and it becomes completely useable for another project. Here's how I did it:
 1. I bought 6 yards of quilting cotton at a discount online to fit the space. I hunted for a month or two until I found a print that I loved. Amazon search results for Michael Miller or Premier Print fabric yields some good results under $7/yd, and Ikea is also a great source for cheap fabric if you happen to live near a store and the color you like is in stock (grrrr). Fabric.com gave me a very generous cut--almost 7 yards for the price of 6!
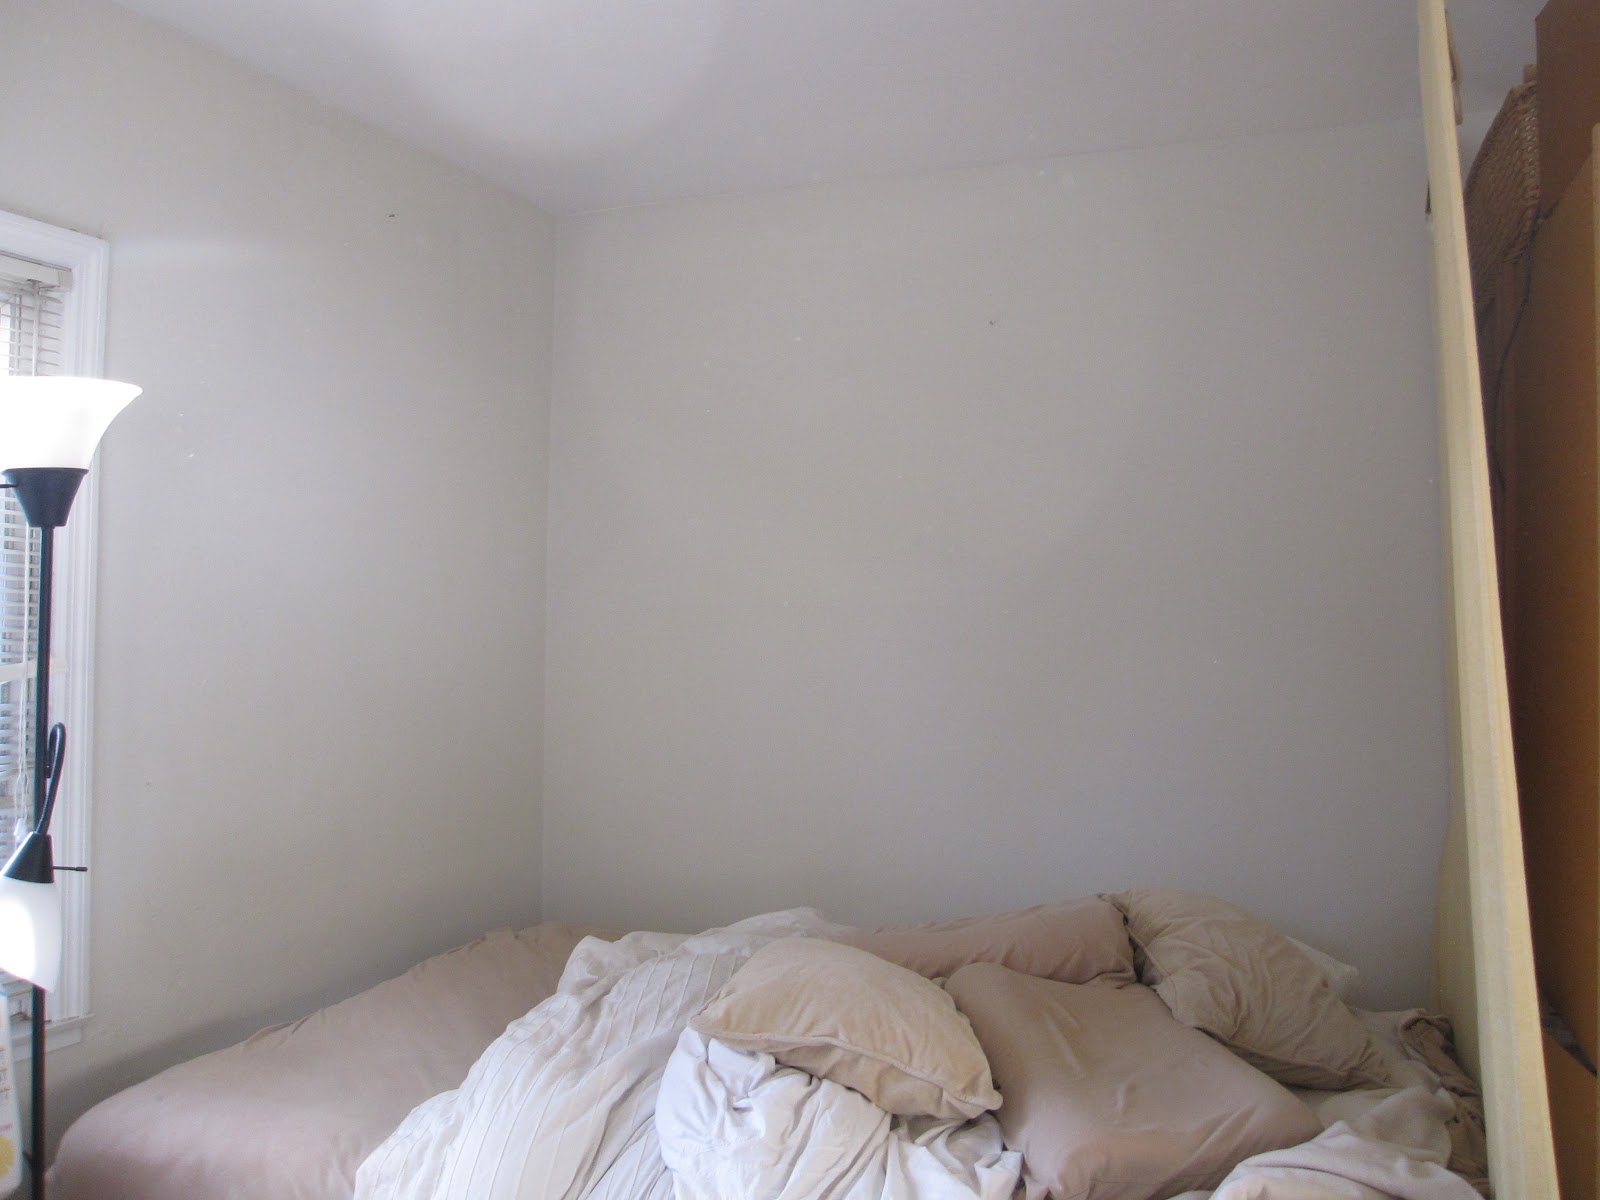
2. Take everything off the wall. It is suggested you wash the wall AND your fabric before beginning (I did neither). Several people have warned that your fabric could bleed, so try a test swatch (I didn't do this either).
 3. Measure twice, cut once. I divided my space in three strips based on the width of my fabric.
4. If you are using multiple panels like me, make sure to match the print as you cut.

5. Mix 1 cup starch for 3 cups water. I don't have a bucket (where would I store one??) so I used my emptied and cleaned trash can.

6. Soak the fabric in the starch mix. Make sure that every piece gets nice and wet.

7. Wring it out and slap that baby on the wall. In comparison to the little squares I did before, putting a large panel up was tricky! If you can, get an extra pair of hands and/or tack up the top parts to the walls as you smooth it on. My wall is weird and the tacks wouldn't go in, so I carefully smoothed the top foot of the panel to the wall and then worked downward. I also concentrated my effort on one side of the panel, lining the it up with the corner of the wall, and then worked my way smoothing the fabric toward the other side. Make sure to smooth out all the wrinkles and air bubbles.

8. Lather, rinse, repeat. To keep everything nice and wet as I worked, I dipped a sponge in the starch mix and used it along the upper part of the panels, which tend to get dry the fastest. Other people use paint brushes. Be careful, because once the top part becomes detached from the wall, it will peel down and the weight will peel off your whole piece of fabric (so frustrating!).

9. Once it's all dry, you can hammer back in your nails and hang your art (optional).
10. Here's the best part: when you get sick of your wallpaper or when it's time to move, simply peel it off the wall and sponge off the wall. You can even throw the starched fabric in the wash and it's ready to be used for another sewing or wallpapering project somewhere else!


this is awesome!! you did a fantastic job... i'm already trying to convince travis to let me do it in our new place :)
ReplyDeleteTHis is beautiful.. I am so amazed at how well you took this small space and organized so much into it. Looks beautiful and functional.. i can see why you love it.I do to!!!
ReplyDeleteOh that is so cool. It never would have crossed my mind to do that. I would have been scared of the pattern but it looks amazing on the wall, such a good eye.
ReplyDelete