Showing posts with label tutorials. Show all posts

Free Stitch Guide for BERNINA Overlocker


This is my first project as part of the BERNINA Ambassador program. To get familiar with the overlock coverstitch machine and try out all the new stitches, I made a simple t-shirt with a cotton woven patch pocket.  I learned so much while doing it! (I also learned so much about unpicking overlock stitches!)

You can find the full details for each stitch over on the BERNINA We All Sew blog, but today I am sharing some of my "research" here. As a bit of a nerd, I knew it would be helpful to organize all the information together. The result is a one-page overlock stitch guide that you can print out and keep alongside your machine. It includes a brief description of when to use each stitch, as well as the threading and machine set up. Even for those who don't own a BERNINA, this is a helpful overview of the types of stitches you can do on an overlocker (serger) or combination overlock coverstitch machine.

Download the Overlock Stitch Guide HERE.


It's been fun to start learning along with everyone, so please leave any questions, tips or advice here! 

Getting Started

Needles:
Different projects require different needles. Generally it is handy to have a lot of universal needles on hand, for general projects. Thicker needles (up to American size 19) are better for thicker fabrics and threads, while smaller needles (down to American size 8) are better for thinner fabrics and threads. DenverFabrics.com recommends that you thread your needle and, holding the thread taught, spin the needle down along the thread. If it slides down, you are good, if not, you may need a larger needle.

If the universal needle is skipping stitches on you knit fabrics, then you will want to use a ballpoint needle, which pushes through the threads of the fabric without piercing it. 

Similarly, you may want to use a sharp/microtex needle for silks and other fabrics which require being pierced by a sharp needle.

You can explore more specialty needles at DenverFabrics.com.

Note: Whatever needle you use, make sure to replace it every few projects. A dull/used needle is the main cause of most stitching problems. 

Thread:
For any project, I recommend European thread brands like Mettler or Gutermann, which are of better quality than brands like Coats and Clark. As the Colette Patterns blog notes, cheap threads, which can break or get stuck in the machine, can ruin a project. 

For a list of ten basic mistakes that can ruin your sewing project, check out the full Colette blog post.

Marking Patterns:
Once you have figured out the size of the pattern piece you will make (see this post on getting the right fit for your body), use a highlighter to mark the cutting lines on a multi-size pattern. This is especially useful if you are different sizes, such as a small at the bust but a medium at the waist. Even if you are a single size, the lines can get especially confusing around armholes and other details, and I have cut along the wrong line far too many times to risk it again. 

To mark elements like darts and other marks, with wrong sides together pin through each dot on the pattern, open up the two layers of fabric, and mark the dimply on the wrong side of the fabric that is left by the pin. You can use Mark-B-Gone (spritz with water and iron to disappear; doesn't work on polyester), Disappearing Ink (disappears within 24 hours; not good for long-term projects), tailor's (or regular) chalk (be careful: waxy chalk can stain fabric), or tracing paper (make sure to also get a tracing wheel). Make sure to always test your markings on a scrap piece of fabric to make sure it works for your fabric!

Cutting:
Make sure to use sharp fabric scissors. These should be kept separate from all your other household and sewing scissors, and only used to cut fabric to keep them from becoming dull. In order to achieve smoother, less jagged cuts, take long cuts instead of short snips and avoid turning your had at awkward angles (turn the fabric or moving around your piece instead of becoming a contortionist). Scissors with angled handles can also help you cut smoothly across the fabric, again because they make it easy to hold your hand straight against a flat cutting service rather than lifting the fabric off the table to cut.

Sewing:
For tips on finishing your seams, check out the Seam Guide.

Then check out more Techniques, from hand sewing to piping and making your own bias tape.

Finishing Seams: Seam Guide


Zig-Zag Finish 1:

Uses: This seam is good for finishing raw edges instead of using pinking sheers.

Notes: For sewing a single layer of fabric in a zig-zag stitch, loosen the tension a little bit so that the fabric isn't pulled tight and creased between the zig-zags (as you can see in this picture).


Step 1: With right sides together, sew a seam with 5/8" stitch allowance (or what the pattern calls for).

Step 2: Sew a zig-zag stitch through the middle of each seam allowance. Trim each seam allowance as close to the zig-zag stitch as possible and press.

Check out the tutorial on Burda Style.


Zig-Zag Finish 2:

Uses: Good way to finish a seam that will not be pressed flat or where bulk is not as big of an issue, such as on pants.
.
Step 1: With right sides together, sew a seam with 5/8" stitch allowance (or what the pattern calls for).
.
Step 2: Before pressing the seam open, hold both seam allowances together and sew one zig-zag down the middle. Press.

Check out the tutorial on Burda Style.


Flat-Felled Stitch:

Uses: This seam is good for finishing the raw edges of sheer fabrics

Notes: Sewn with rights sides togehter, this stitch will produce a stitch line and seam on the right side of the garment (see picture on left). Sewn with wrong sides together, this stitch will produce two parallel stitch lines on the right side of the garment (see picture on right)


Step 1: Sew a seam at 5/8" allowance (or what the pattern calls for) with right sides or wrong sides together (see note above). Trim one end of the seam allowance so that it is about half as wide as the other.

Step 2: Fold the longer seam allowance over the shorter one. Press.
Step 3: Press towards one side so that the longer seam allowance is on top and the raw edges of both allowances are hidden underneath.

Step 4: Sew close to the folded edge, keeping parallel with your first seam.

Check out the tutorial on Burda Style.


French Seam:

Uses: This is nice for leaving no raw edges on your garment--everything is turned in on itself. It is a little more bulky, so it is best for pants or garments where the bulk doesn't matter. It is also good for sheer and lightweight garments where the fabric isn't very thick to begin with but may ravel a lot.

Step 1: Sew your fabric WRONG SIDES together. If you have 5/8" seam allowance, sew this seam at 2/8" seam allowance. Press.

Step 2: Flip the fabric so that the right sides are together. Sew at 3/8" seam allowance, so that the first seam is enclosed within this one (Get it? 2/8" + 3/8" makes 5/8". This can be adjusted for different size seam allowances).

Check out the tutorial on Burda Style.


Hong Kong Finish:

Uses: This stitch can be very time consuming, so it is best used for seams that will be seen, such as the seams on the inside of a jacket that will be exposed when you set it over a chair or hang it up.

Notes: Consider using a coor- dinating color for your bias tape, or making your own out of a fun print.

Materials: Single-fold bias tape

Step 1: Sew your seam with a 5/8" stitch allowance (or what the pattern calls for), right sides together. Press the seam open and sew the bias tape to one of the seam allowances, right sides together.


Step 2: Flip your seam allowance over, folding your bias tape over the raw edge. Make sure that you do not unfold the bias tape while you do this, so that the raw edge stays tucked underneath. Press so that the bias tape completely covers the stitch line that you just made. The farther the bias tape covers the stitch line the better.


Step 3: Flip the seam allowance back over. Stitch "in the ditch," or where the bias tape meets the seam allowance. If you have done the steps above correctly, this should catch the bias tape on the other side, holding it in place, while looking nice and neat on the side that you are stitching on.


Step 4: Repeat on the other seam allowance.

Variations: Instead of sewing in the ditch, sew a decorative or zig-zag stitch, either along the ditch (left) or right on top of the bias tape (pictured at right). This is easier than sewing in the ditch and trying to catch the bias tape on the under side, and is still fun and decorative.

Check out the tutorial on Burda Style.

Hand Stitching

Uses: Hand-stitching is great for when you want more precision in your sewing, when you don't have a sewing, or you are doing couture garmets.

Tying a Knot:

Here's a cool trick I picked up in sewing class for tying an easy, fool-proof knot.
Step 1: Thread your needle. Holding the ends of the thread horizontal, place your needle perpendicular to them, making a cross.
Step 2: Using the thread from the left, wrap it two times around the needles.
Step 3: Grasp the thread you wrapped around the needle between  your thumb and index finger. Slide it down the needle and down along the thread toward the end.
It will make a nice knot right near the end of your thread.
Waxing your thread: OK, I'm not going to lie, I don't do this step. But according to those in the know, it helps make your thread thicker and stronger. Alternately, you can just buy waxed thread. To wax it yourself, buy a needle waxer and slide your thread through it.

The weird part: If you are going to wax the thread yourself, you are going to have to do this step. It may seem a little neurotic, but ironing your self-waxed thread will keep the wax from coming off during the first stitch you make and balling up (read: staining) your garment. So, run your self-waxed thread briefly under a hot iron.

Check out the tutorial on Burda Style.

Backstitch:


What it is: The backstitch makes a nice, secure stitchline with one stitch right next to the other.

Step 1: Poke your needle up from the wrong side of the fabric. To sew across your fabric from left to right, insert your needle to the left of the knot and pull it out to the right.
Step 2: Continue in this fasion, inserting your needle where the last stitch ended and pulling it up at an equal space the right of the thread.


Pick Stitch


What it is: This is a variation of the backstitch that makes cute little traditional-looking stitches.

Step 1: Start your row of stitches as you would for the backstitch.
Step 2: Unlike the backstitch, don't insert your needle where the last stitch ended. Instead, leave a space.


Blind hem stitch:


What it is: The blind hem is a way to hem a garment without leaving a big ol' topstitch line. To do this by machine, click here.

Step 1: Finish the edge of your garment by serging or using a zig-zag stitch. Fold the edge under the desired length.
Step 2: Here's the tricky part. Fold the folded edge under towards the right side. Leave the finished edge sticking out from under the fold.

Step 3: Press.

Step 4: Stitch one stitch on the side with the raw edge. This will not be visible from the right side of your garment, so don't worry if it isn't perfect. Then, pick up one or two threads from the folded edge, right along the fold.
Step 5: Repeat step 4, being careful not to pull the tension too tight.
Step 6: Unfold and press your hem. Only the little tick marks should be visible along the right side.

Embroidery Stitches

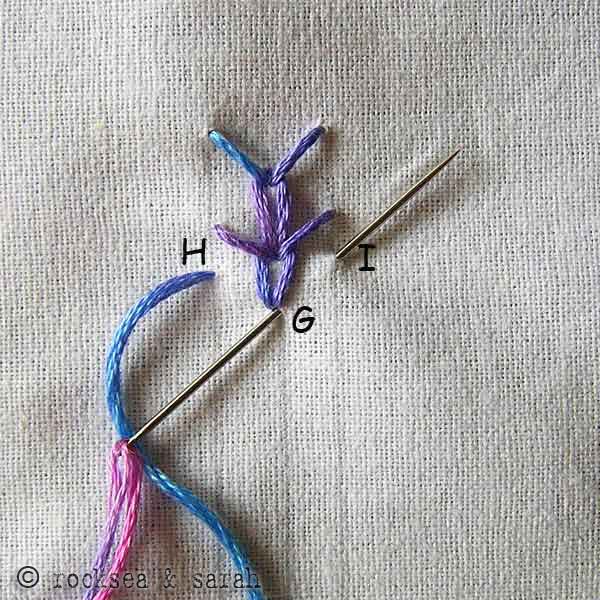
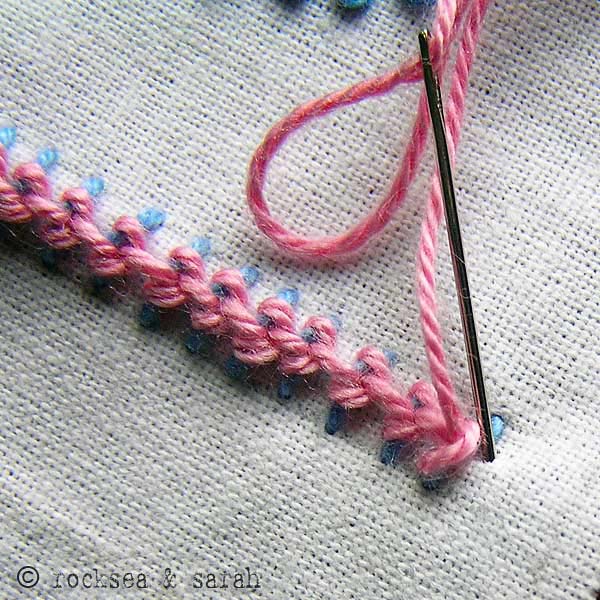
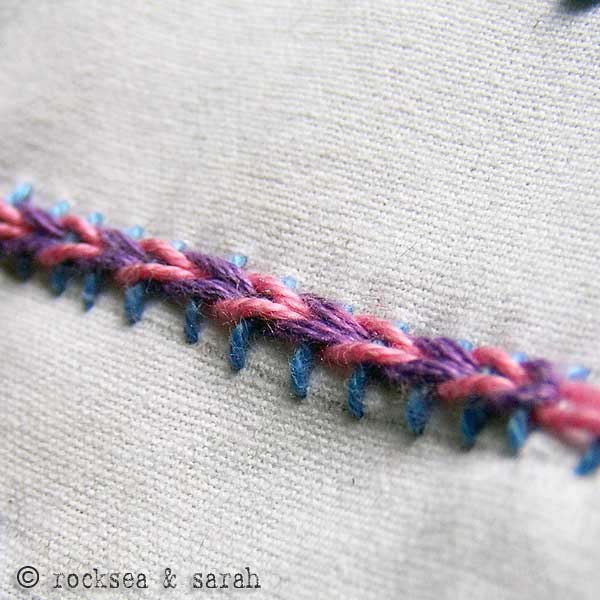
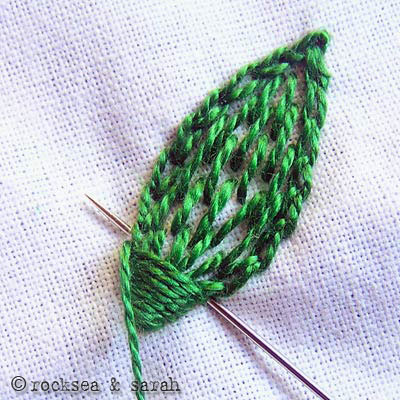
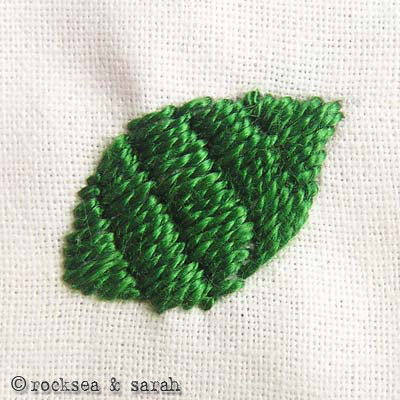
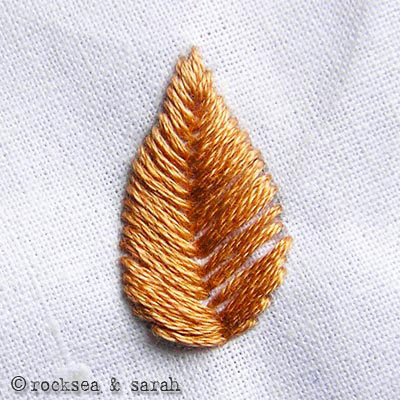
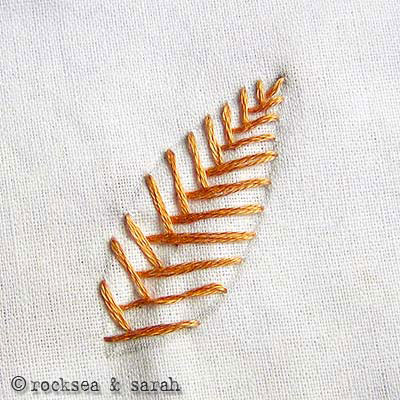
I recently stumbled upon this AMAZING library of embroidery stitches. My only problem: I'm a visual person and so, when I decide to embroider, I want to be able to see a visual library of all my available options. So I organized the stitches, complete with pictures, here for easy reference. Click on the link for Sarah's Hand Embroidery tutorials.

Her website also gives great lessons on how to use these stitches together to create a full embroidery design. Check out her Redwork, Pattern Darning, Kalakdozi, and Chicken Scratch techniques.
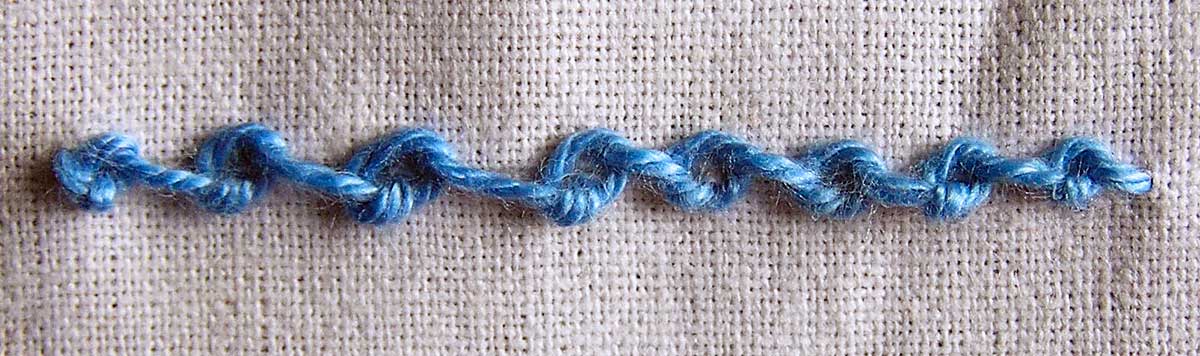

Running Stitch Family
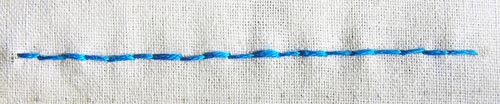
Running Stitch
Looped Running Stitch
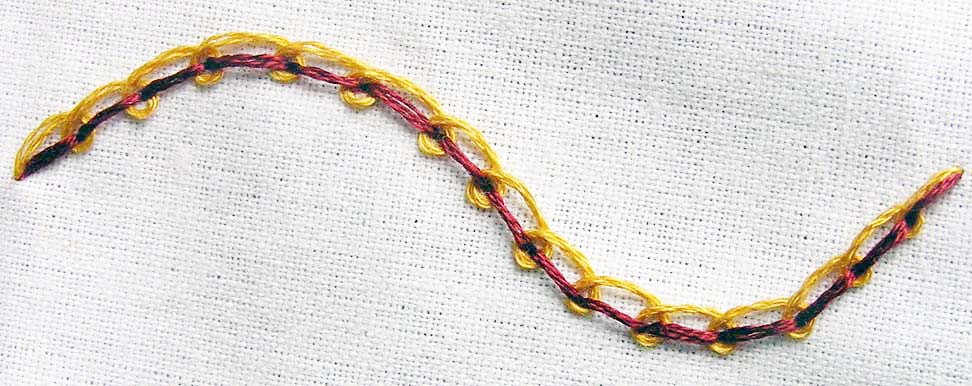
Lace Running Stitch
Interlaced Running Stitch
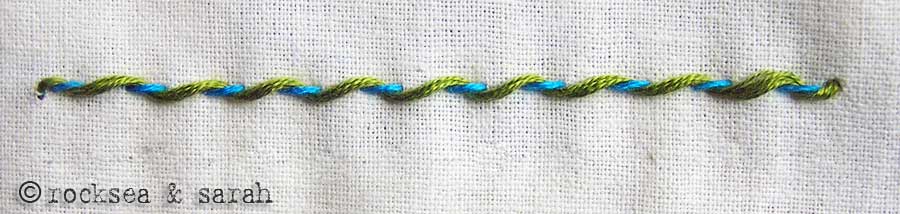
Whipped Running Stitch
Parallel Running Stitch
Stepped Running Stitch
Holbein Stitch
Darning Stitch
Seed Stitch
Rice Stitch

Back Stitch Family
Back Stitch
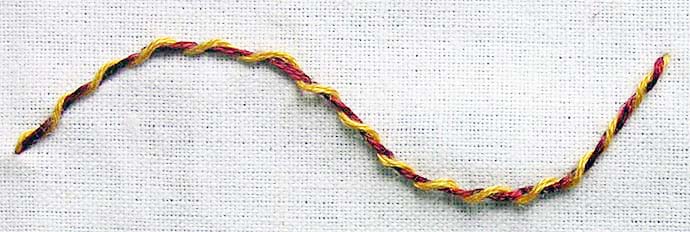
Whipped Back Stitch
Threaded Back Stitch
Pekinese Stitch
Herringbone Ladder Filling Stitch
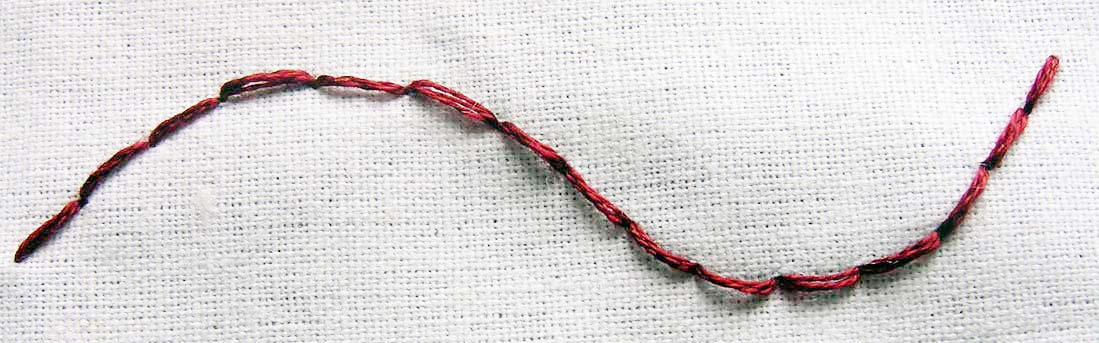
Split Back Stitch


Stem Stitch Family
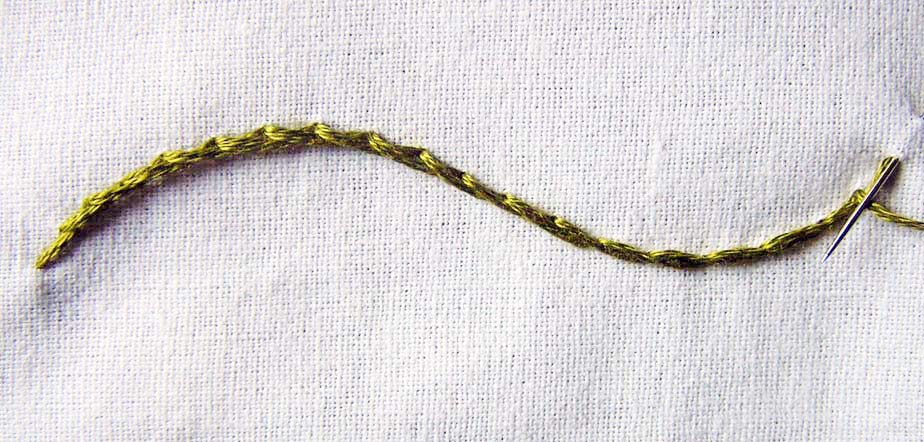
Stem Stitch
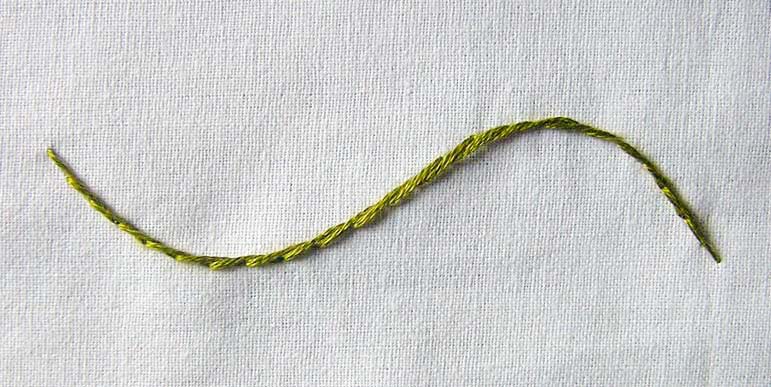
Whipped Stem Stitch
Outline Stitch
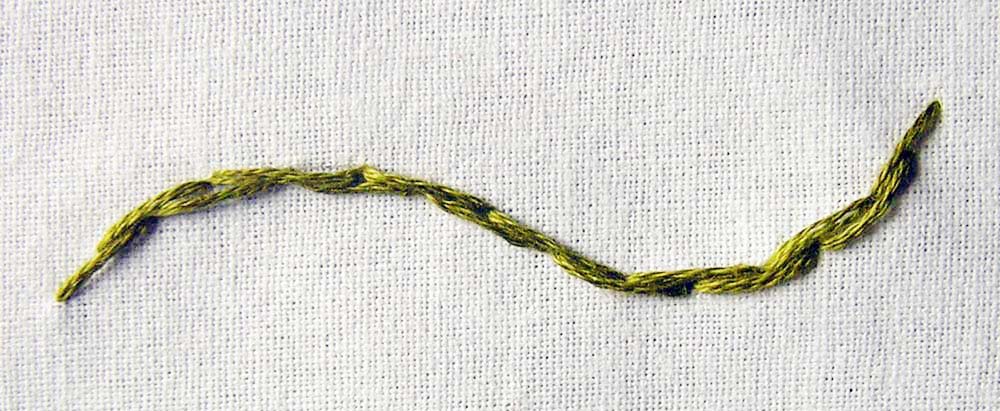
Cable Stitch
Split Stitch
Portuguese Stem Stitch
Japanese Stem Stitch


Chain Stitch Family
Chain Stitch
Whipped Chain Stitch
Double Chain Stitch
Magic Chain Stitch
Lazy Daisy
Russian Chain Stitch
Long-Tailed Daisy
Feathered Chain Stitch
Basque Stitch
Petal Chain Stitch
Reverse Chain Stitch
Heavy Chain Stitch
Braided Chain
Zig Zag Chain Stitch
Cable Chain Stitch
Zig Zag Cable Chain Stitch
Twisted Chain Stitch
Alternating Twisted Chain Stitch
Barred Chain Stitch
Alternating Barred Chain Stitch
Rossette Stitch
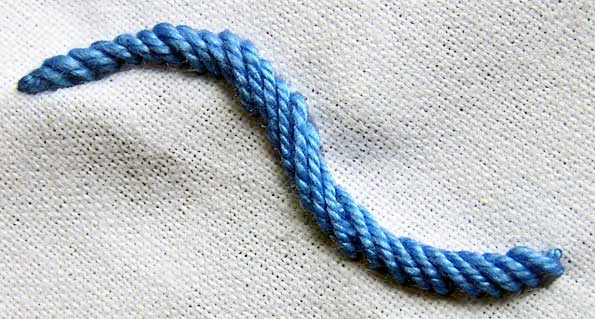
Rope Stitch
Tulip Stitch
Bull's Head Stitch
Detached Wheatear Stitch
Wheatear Stitch
Oyster Stitch
Butterfly Chain Stitch
Raised Chain Band
Checkered Chain Band
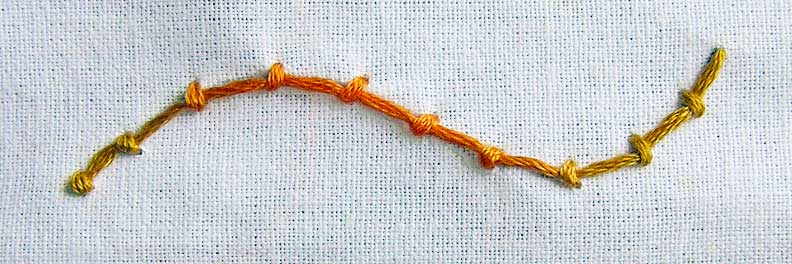
Knotted Chain Stitch
Knotted Cable Stitch
Open Chain Stitch


Knots Family
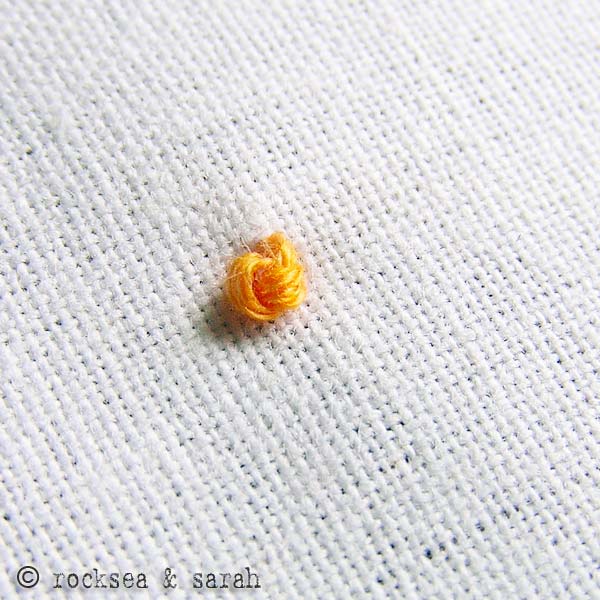
French Knot
Pistil Stitch
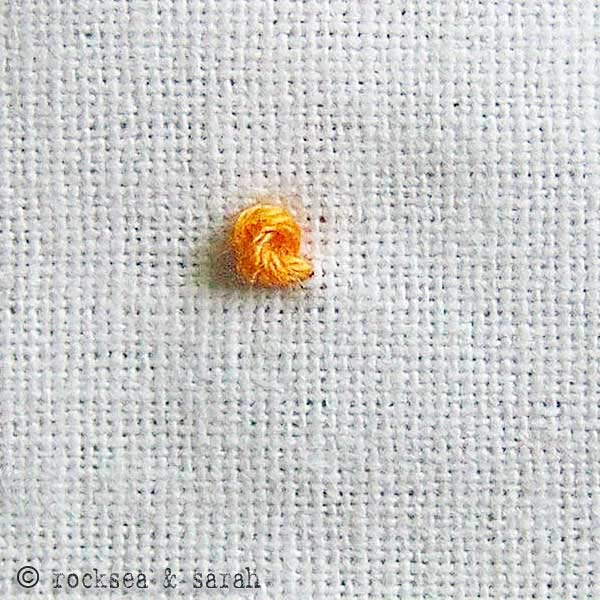
Colonial Knot
Coral Stitch
Scroll Stitch
Peking Knot
Pearl Stitch
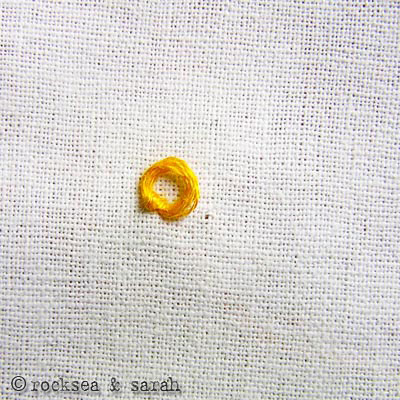
Bullion Knot
Knotted Pearl Stitch


Palestrina Family
Palestrina Stitch
Reverse Palestrina Stitch
Triple Palestrina Stitch
Basque Knot
Sorbello Stitch


Satin Stitch Family
Satin Stitch
Whipped Satin Stitch
Padded Satin Stitch
Encroaching Satin Stitch
Brick Stitch


Fishbone Stitch Family
Fishbone Stitch
Opened Fishbone Stitch
Open Fishbone Stitch
Flat Stitch
Raised Fishbone Stitch


Fly Stitch Family
Fly Stitch
Whipped Fly Fish
Closed Fly Fish
Plaited Fly Stitch
Twisted Fly Stitch
Crossed Fly Stitch Filling


Feather Stitch Family
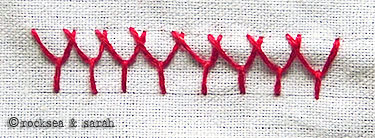
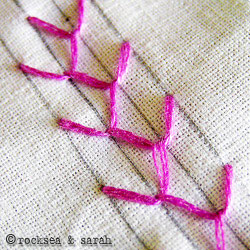
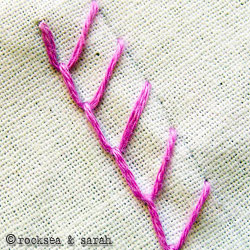
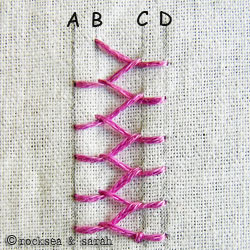
Feather Stitch
Closed Feather Stitch
Single Feather Stitch
Double Feather Stitch
Maidenhair Stitch


Cretan Stitch Family
Cretan Stitch
Closed Cretan Stitch


Cross Stitch Family
Cross Stitch
Double Cross Stitch


Herringbone Family
Herringbone Stitch
Threaded Herringbone Stitch
Tacked Herringbone Stitch
Tied Herringbone Stitch
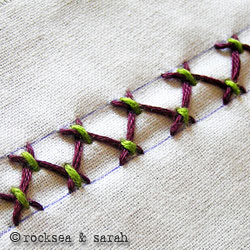
Laced Herringbone Stitch
Double Herringbone Stitch
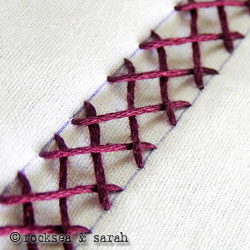
Twisted Lattice Band
Interlaced Herringbone Stitch


Weaving Stitch Family
Woven Circle
Woven Oval
Woven Spider Wheel
Whipped Spider Wheel
God's Eye Stitch
Weaving Stitch
Woven Trellis Stitch
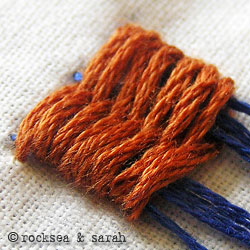
Woven Bar

Related Posts Plugin for WordPress, Blogger...