


Pattern: Twelve 22's Zippered Pouch tutorial
Fabric: crewel embroidered cotton
Cost: $6

Spring cleaning has begun! I got myself a new purse, a new wallet, and a pledge to have a super clean bag. In order to clear the clutter, I sewed some zippered pouches to store all my goods.
Even though I've sewn hundreds of things (OK, maybe just tens of things, but that sounds awkward), I've never sewn the quintessential zippered pouch before. Using Twelve 22's easy tutorial and my mom's Bernina, they took no time. The fabric is an amazing cotton with crewel embroidery that I got for a great deal at Crossroads Fabrics.
I made this little tutorial for myself to help me remember, but be sure to check out Twelve 22 for the full scoop:
 Figure out how big your pouch should be. I used the zipper and some of the contents to help me decide. I then cut a rectangle long enough to fit my stuff (including a seam allowance at the bottom), and as wide as the zipper.
 I then cut three more rectangles the same size: another from coordinating fabric and two more from the lining.
 For one of the outer sides, I decided to make a label. I made some for "Medicine" and "Cosmetics," and used the embroidery function on my mom's Bernina. To do this, I cut two rectangles, the first slightly smaller than the second, and placed them on one of my outer rectangles (without sewing them down). I left the edges of the tag unfinished because I like the effect. When placing the tag, make sure to no do it too closely to the edge (i.e. leave a seam allowance).
 I then embroidered my message on top. The embroidery will hold the "tag" to the pouch, no need for additional stitiching. As an alternative, you can use Skip to My Lou's tag idea.
 If need be, trim the ends of the tag so that the embroidery is centered.
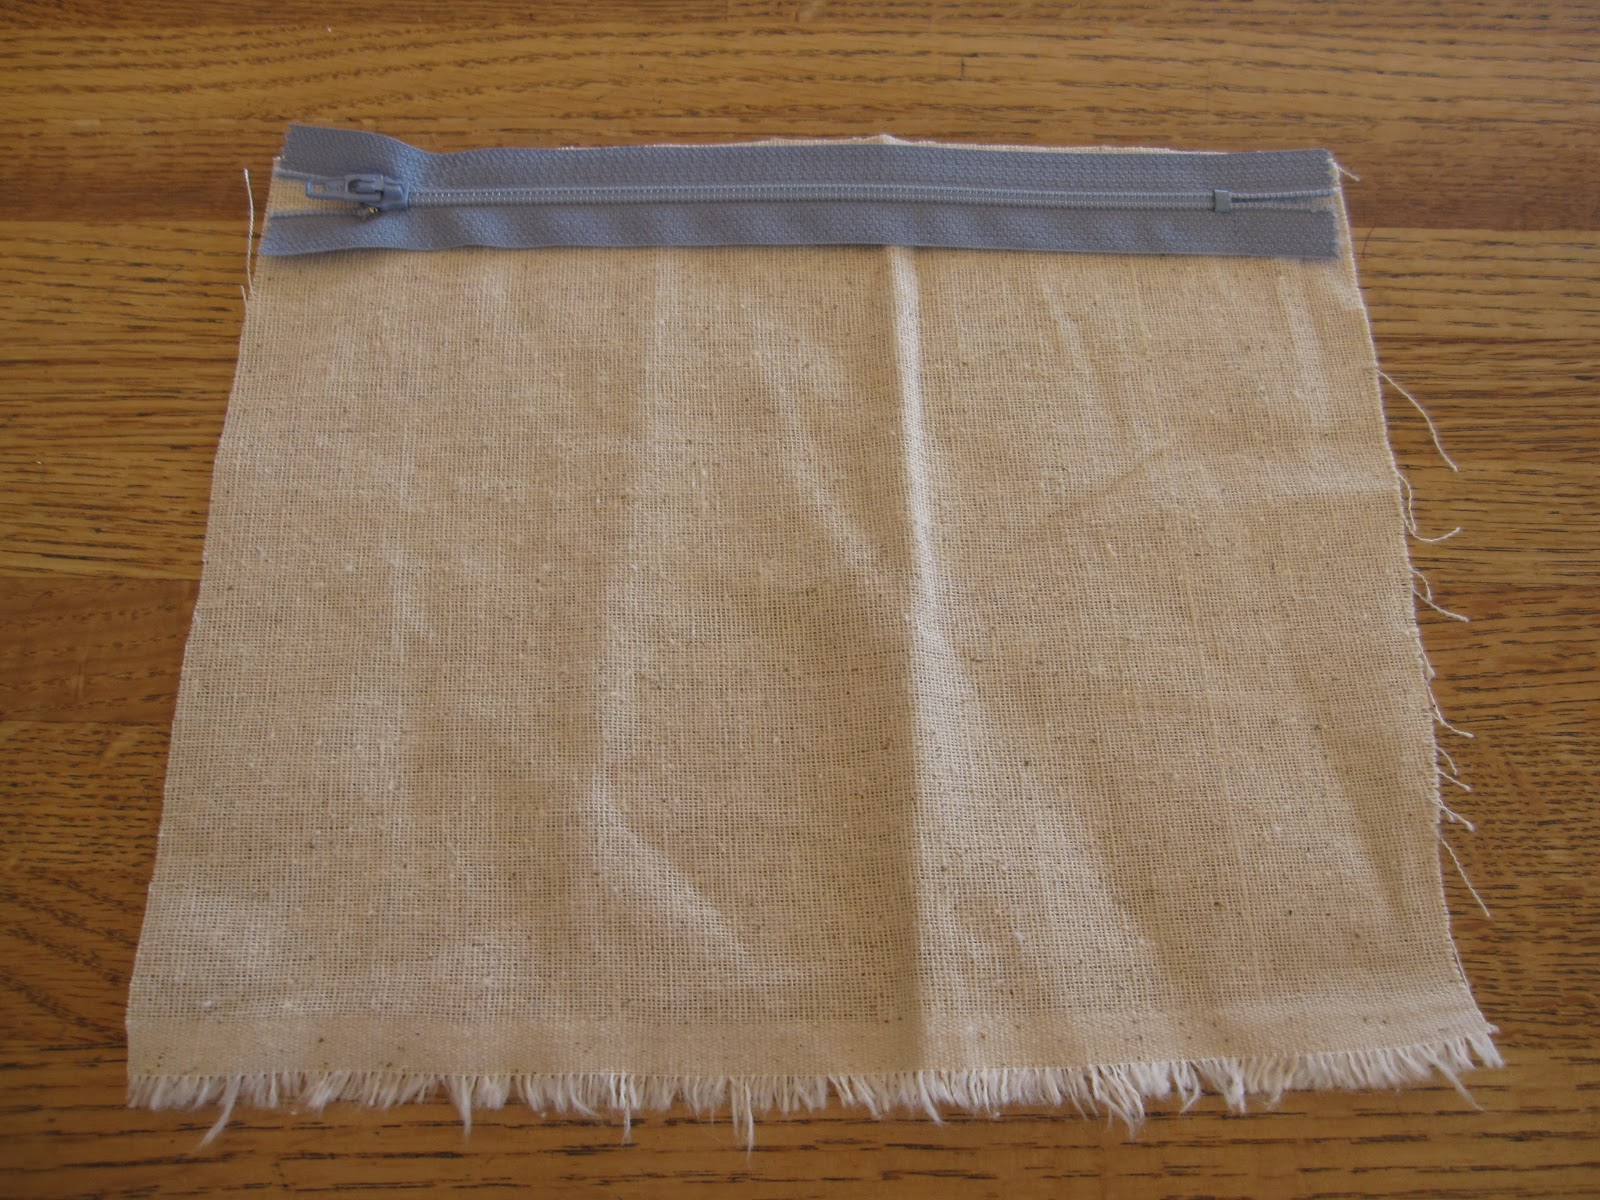
 To make the pouch, lay one of the lining rectangles face up, and place the zipper along the top, also face up.
 Place the outer rectangle on top, face down. Use a zipper foot to stitch along the top close to the zipper.
 Flip the fabric over so that wrong sides are together.

Topstitch along the side of the zipper.
 Place lining rectangle #2 on the table, face up.
 Place the piece you just sewed (zipper with lining and outer fabric attached) face up on the lining rectangle so that the top edge of the zipper lines up with the lining rectangle #2.
 Place outer rectangle #2 on top face down so that the top edge also lines up with the top edge of the zipper and lining rectangle #2. Stitch as before using a zipper foot.
 Lay the pouch out so that the outer rectangles are facing each other, right sides together, and the lining rectangles are facing each, other right sides together.
 Pin down both sides and along the bottom of the outer rectangles. Do not pin/sew along the bottom of the lining.
 Pin so that the zipper is pressed towards the lining. Unzip the zipper before sewing.
 Sew in a U-shape without sewing along the bottom of the lining.
 Trim the seam allowances all the way along the sides (I even snipped some of the zipper) and along the bottom of the outer fabric. Trim the corners of the outer fabric.
 Press the seam allowance of the bottom of the lining in.
 Sew along the pressed edge. Turn the lining in to the bag.


Fabric: crewel embroidered cotton
Cost: $6

Even though I've sewn hundreds of things (OK, maybe just tens of things, but that sounds awkward), I've never sewn the quintessential zippered pouch before. Using Twelve 22's easy tutorial and my mom's Bernina, they took no time. The fabric is an amazing cotton with crewel embroidery that I got for a great deal at Crossroads Fabrics.
I made this little tutorial for myself to help me remember, but be sure to check out Twelve 22 for the full scoop:
 Figure out how big your pouch should be. I used the zipper and some of the contents to help me decide. I then cut a rectangle long enough to fit my stuff (including a seam allowance at the bottom), and as wide as the zipper.


Topstitch along the side of the zipper.


how cute! I just got a new purse for spring, too.
ReplyDeletegood luck on keeping it less messy than mine! ;)
I recently found your blog - it's great! Thanks, the tutorial was really easy to understand, I'll give it a go tomorrow :)
ReplyDelete