Showing posts with label pattern: Drape Drape. Show all posts

October Wedding in Drape Drape

Just as summer was breathing its last breaths, I had the chance to go to a beautiful, casual outdoor wedding in the foothills. Of course, this occasion called for a new dress!

Pattern: Drape Drape no. 11
Fabric: 2 1/2 yards viscose 

Ever since I made Drape Drape no. 11 out of knit fabric several, several years ago, I have been wanting to make a version in soft, flowy woven fabric. This hippie wedding would prove to be the perfect chance, as the dress is pretty but still a little bit out there and not too done up. I love the swishiness of the fabric and how the wide A-line/tent shape hangs beautifully around my body.

What makes this dress unique is the half panel across the front, which only hangs down one side of the dress. In these pictures, it looks a bit like ruffle, but it is only attached at the side seam and the back of the neck. While other drape drape dresses (like no. 5) were very popular back when this book came out, I have yet to find anyone else who's ever made no. 11 up. If you have the book, I do recommend it - it's such a fun dress!

The fabric is this amazing mystery fabric from the designer bolt ends discount section of Stone Mountain in Berkeley. It was drapey and lovely and yet still nice and opaque. Perfect for a dress like this. I was a little nervous about working with it though because there are so many hems to do! In addition to the ample hem at the bottom, the entire flap needs to be hemmed at the bottom and front as well. I decided to follow Sham's tutorial for baby hems and the technique worked out great! Mine weren't super tiny as I didn't really need anything too small, but the technique was perfect for working with a slippery fabric and made the whole process less fussy. I actually maybe even enjoyed hemming this dress!


Looking back now, I'm a little surprised at my gumption for having sewn this dress up as a beginner. Even though I didn't have a lot of experience, I never balked at doing something like ordering a pattern book entirely in Japanese with crazy overlapping pattern pieces and just going for it. While the book is now out in English, at the time I had to do a lot of internet searching to figure out the instructions. Luckily I wrote right in the book, so things like "insert elastic here" and "join these two pieces" are now helpfully labeled. The book photographs are still of no help, which I have reproduced for you here below.

What is the craziest project you've taken on as a beginner? Would you sew it again now?

Flare Drape Dress

Pattern: Drape Drape Vol. 1's Loose Flare Drape Dress No. 11
Fabric: 3 yards cotton jersey
Cost: $51


My newest Drape Drape project!

But first, the Japanese mystery of Drape Drape...

After numerous internet searches (I even looked in Japanese!) I have decided that I am the first person ever (ever!) to attempt Drape Drape Vol. 1 no. 11: Loose Flare Drape Dress. OK, probably not, but from what I can tell tell from my internet research, most people do the cover pattern (no. 4), the Drape Drape Dress (no. 5) and the Gather Drape Dress (no. 3) with a few who wander here and there. A lot of the other patterns I can't find blogged anywhere.

Of course, this posed a problem when I wanted advice on how to put the whole thing together. It also piqued my interest about the Drape Drape books in general. Is the series produced by a large pattern company or done in a small cottage industry? Is this part of a trend in Japanese sewing or the vanguard? And who is Hisako Sato, anyway? I don't even know the designer's gender! Most of my search results proved unrelated (did you know that they were thinking of draping fabric over the Japanese nuclear reactor?), but a little more investigation revealed this little snippet:

A graduate of Bunka Fashion College, Japan, Hisako Sato worked as Head of Garment Design for Muji until 1993 when she left to develop her own independent label. In 2008, she launched a new brand focusing on dress design, and she is still active as a designer today.

She is apparently also now a designer for the Raw+ label, though their shop is currently under construction.

Overall, it is interesting what a cult following these books have, yet none of the blogs and sites that talk about (and sell) these books seem to have any of the background information, and so few people have posted pics of more than a handful projects. The fact that the patterns are written in Japanese makes the whole thing an even bigger mystery to me.


And so began another adventure in drape drape...

Once again, it took me several hours to even locate, trace, and cut out the pattern pieces on tracing paper. I had originally wanted to wear this dress in a bright red woven fabric for Coachella, but making it the night before my trip turned out to not be an option. A month or so later, the pattern came up again when I was playing with my geometric stripe fabric and using Pinterest for some inspiration. I figured I'd done enough straight-across horizontal dresses, and wouldn't it be fabulous to mix it up with the unexpected things that Drape Drape makes you do? (Half unexpected because of their innovative construction, and half unexpected because I don't understand any of the directions.) Since the pattern was already partially traced out from my last attempt, I had a bit of a head-start on the project this time.

Marie Claire

As luck would have it, my research paid off in the construction of the garment (which is really why I started googling this book in the first place). Set to come out with an English version this month, there are a few English previews of Drape Drape Vol. 1 online. Lo and behold, one of the previews showed a page of directions for pattern no. 11! Even that glimpse was enough to set me on the right track, and give me some artistic freedom: because this pattern appears to be made for sheer fabrics, there are several pieces made to be facings and linings. I omitted these in the final construction in favor of bound armholes and a hem.

After the first cut, where I only had enough fabric to cut out the front and the front flap, I pinned the thing together and tried it on. It has the shape of a wrap dress without wrapping all the way around in the front. It was cool, just different than I expected. I was a little skeptical,but went with it anyway.

The only other challenge I had (as with many drape drape patterns) is the amount or raw edges to finish. Because I wasn't lining the dress, I had even more to deal with. For the hem, I sewed hem tape/ribbon to the raw edge and folded it under. Of course, I bought the cheap plastic-based ribbon, so the result is not as good (and was accidentally melted in one section). What worked really well, though, was binding the neck using a strip of the original fabric. The neck is especially interesting because the unique shape allows you to start at one spot and sew all the way around--the neck, the armholes, and the back--in a sort of spiral without stopping. This does mean, however, that if you start by sewing with the right side of the binding to the right side of the fabric, you end sewing the right side of the binding to the wrong side of the fabric. (You'll have to try it to see.)


Overall, I really like the dress. I'm even fond of the tent shape which, admittedly, is a little unflattering--maybe horizontal stripes aren't the best option here. It seems the dress is designed to be made in sheers (hence the lining), and might be more flattering in a sheer fabric with a body-hugging lining. For now, I think it also looks great with a belt or jacket over it to give it a little more shape.


Unless you're twirling, of course.


You can read my review of this pattern at PatternReview.com.

Holiday Drape Dress

Pattern: Drape Drape Vol. 1's Drape Drape Dress No. 5 (for skirt) and Simplicity's Special Occasion Dress #M4070 (for bodice)
Fabric: 1 3/4 yds Italian wool
Cost: $17

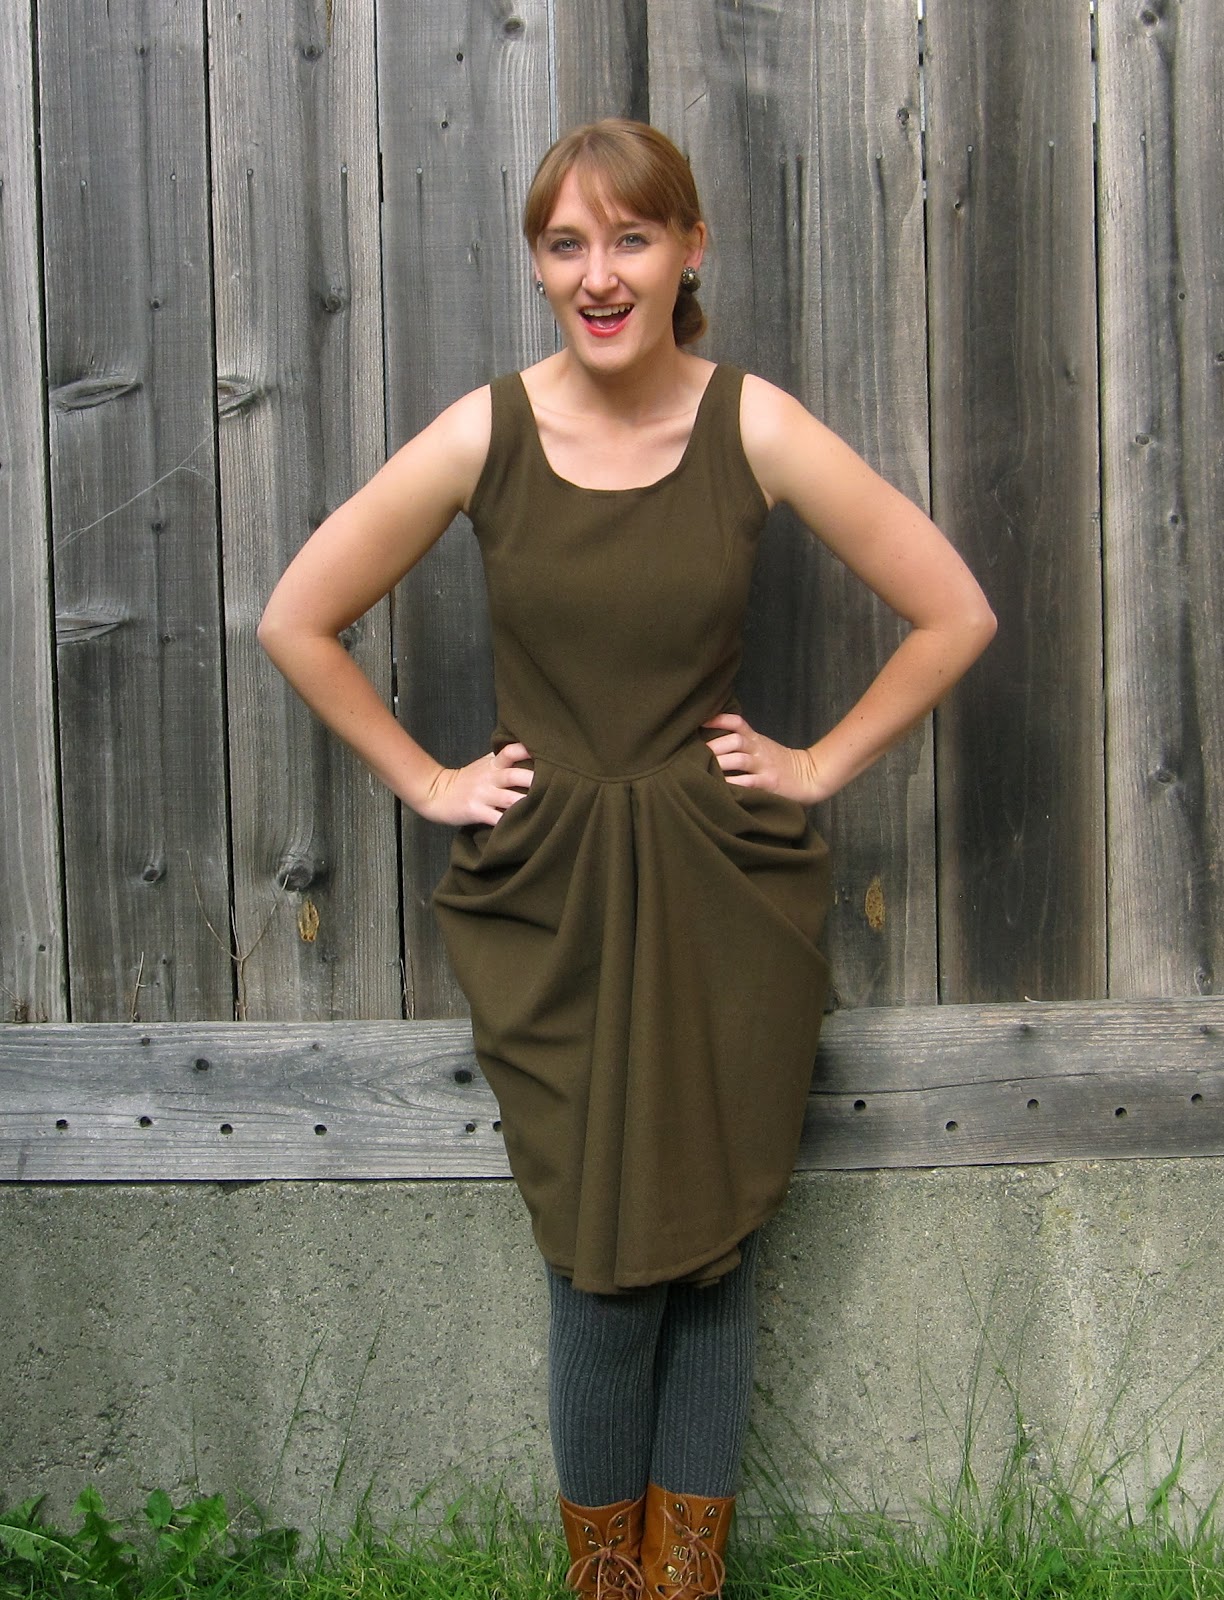
Made of beautiful italian wool in a deep green, this dress will be my Thanksgiving holiday outfit. The wool makes it warm enough to wear in the colder months, and the beautiful draping is perfect for the holiday season.


The drapey hip dress has been on my mind for a while. I first tried to make the look with Burda's #7551, but I wasn't at all satisfied with the results. At the fabric store, I found this beautiful Italian wool on sale for $10 a yard in green and red. I didn't buy the green, but I kept envisioning this unique dress. When I came back, I found 1 3/4 yards in the remnant pile, and figured it was meant to be.


Lately I've been having fun playing with the drape drape patterns in unusual fabrics and shapes, and this design is not exception.


You can read my review of this pattern at PatternReview.com.

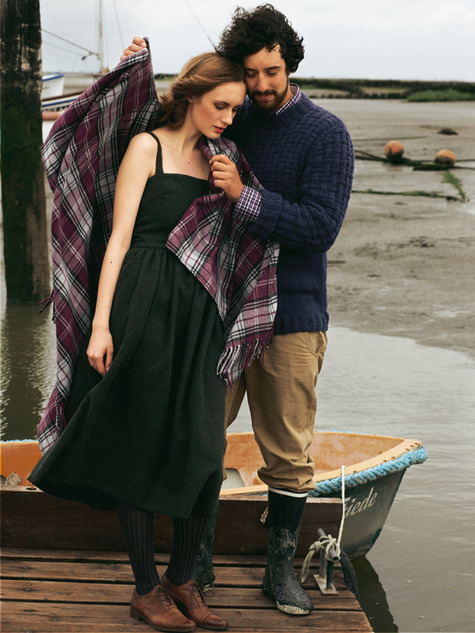
Inspiration:
Josephine Demontis's Sack Dress

BurdaStyle's Knee Length Dress

Beyonce's 2009 Billboard Dress

Work Week Drape Drape

Pattern: Drape Drape Vol. 1's Drape Drape Dress
Fabric: lycra knit
Cost: $12

It's Monday, and that means time for a work-week dress. Last time you saw this pattern, it was in the form of a flannel shirt, so this is a little different take on the design (though probably a little closer to the pattern maker's original intent). I had a few problems making this dress, including my serger going through all the layers and my lack of good fabric layout. Besides the fact that I had to cut the sleeves in two pieces, they were much more loose than I expected. I took them in, but they look best rolled up. Overall it was an easy, quick dress to make if you already have the pattern pieces cut out.


Read my review of this pattern at PatternReview.com.

Adventures in Drape Drape

Pattern: Drape Drape Vol. 1's Drape Drape Dress
Fabric: 3 yds cotton flannel
Cost: $18

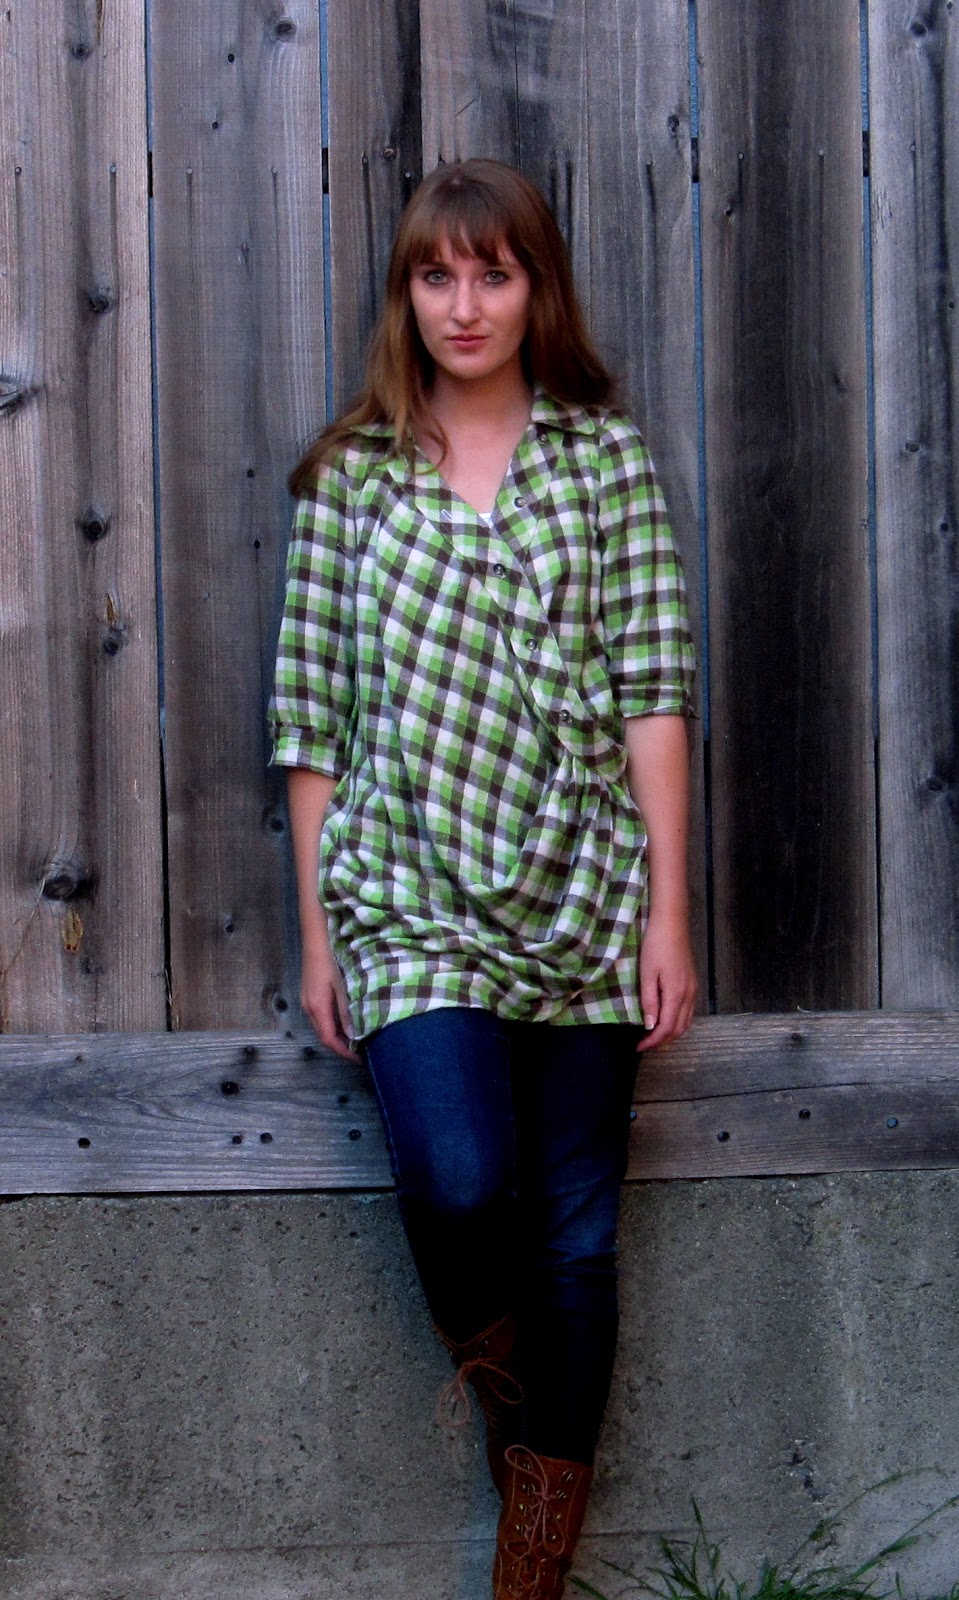
For someone who can't follow patterns, the Drape Drape Pattern Books were perfect for me. Written entirely in Japanese with some numbers here and there at key places, the book for an English-speaker is just pictures, symbols, and endless potential for creativity. Of course, I couldn't let them have all the fun, and so I added a few of my own touches here and there:

The adventure started when I bought 3 yards of flannel on sale for $5/yd at the fabric store. I wanted to make some sort of deconstructed flannel top in the spirit of the twisted button-ups I've been making. I originally intended to use it with the Tuck Drape Tunic Blouse pattern, but after sleeping on it I decided that the Drape Drape Dress was more of what I was after (I'm still dying to try the tunic though!).
Tuck Drape Tunic Blouse
Drape Drape Dress


The first challenge right off the bat was figuring out the maze of pattern lines on the pattern paper. It's like an I-spy game looking for all the right pieces, and it took me over an hour to get them all traced out. If you've never done a pattern like this before, let me explain: it's like someone printed 4 or 5 of your favorite patterns all on one piece of paper, and then left the instructions for you in Japanese. I have to say though, I rather liked the challenge.

Another question I had was around sizing. As it turns out there's a chart on the pattern paper, but the lovely people over at Tessuti have managed to translate it for us.

Drape Drape Pattern Sizing:

source
I went a step further and translated it into American for ya:

S--Bust 31", Waist 23", Hip 33"
M--Bust 32.5", Waist 24.5", Hip 34.5"
L--Bust 34", Waist 26", Hip 36"
XL--Bust 35.5", Waist 27.5", Hip 37.5"

As many people have noted, the Japanese patterns run very small. I cut a medium erring on the side of large. It is also important to remember that the pattern pieces do not include a seam allowance, so I cut an extra 5/8" as well (well, let's be real, I eye-balled it).

The actual sewing project was an experiment in draping and adjusting. I carefully sewed each piece together and planned out my next steps, stopping after every one to try it on and adjust. Because I was making my garment out of a woven instead of a drapey knit, this took extra care. For untrained seamsters like me, it is also important to remember some traditional sewing rules, such as that sleeves are a different shape for the front and the back, meaning you have to pay special attention because there are no notches to guide you. I found this nifty little guide online to help me.

For me the best part was adjusting the pattern to make it resemble a deconstructed button-down flannel shirt. I narrowed the neckband, added buttons and a collar, and made the sleeves with cuffs and button closures. I also removed about 4 inches from the total length by recutting the arm holes and neck lower. To cinch the waist and make it flare at the bottom, I added belt loops to work with a belt I already owned. The final result is a surprising take on the classic flannel.


You can read my review of this pattern at PatternReview.com.
Related Posts Plugin for WordPress, Blogger...